These days, being able to record your screen is useful for all sorts of reasons – making videos, recording meetings, and more. If you use a Chromebook, you may have asked yourself “how to screen record on Chromebook”.
In this guide, we’ll explore three different methods to screen record on your Chromebook, ensuring you have the flexibility to choose the method that best suits your needs. Whether you’re a student, a working professional, or just want to save videos of your screen, this guide will teach you how to capture everything perfectly.
Get ready to master screen recording on your Chromebook!
How to Screen Record on Chromebook
- Keyboard Shortcut (Simple and Fast):
- Screen Capture Tool (Built-in and Flexible):
- Chrome Browser Extension (Advanced Features):
1. Using the Keyboard Shortcut (Simple and Fast)
This method offers a quick way to initiate screen recording using a key combination:
- Keyboard Shortcut: Press Shift + Ctrl + Show windows (key with two vertical lines next to the full-screen button).
- Recording Options: After pressing the shortcut, a panel will appear at the bottom of your screen. Choose between recording your Full screen, a Partial screen (customizable area), or a specific Window.
- Stop Recording: Click the square “Stop recording” button within the panel when you’re finished.
- Saved Recordings: By default, your Chromebook saves screen recordings in the Downloads folder.

Pros:
- Quick and Easy: This is the fastest method to initiate screen recording, perfect for capturing spontaneous moments on your screen.
- No additional setup required: No need to install extensions or access menus; the functionality is readily available.
Cons:
- Limited Features: This method lacks advanced options like editing or adding annotations while recording.
- No Audio Recording: The keyboard shortcut currently doesn’t capture audio along with the screen recording.
2. Using the Screen Capture Tool (Built-in and Flexible)
The Screen Capture tool offers more control over your recording settings:
- Quick Settings Panel: Access the Quick Settings panel by clicking the clock icon in the bottom-right corner of your Chromebook shelf.
- Screen Capture Button: Locate and click on the “Screen Capture” button within the Quick Settings panel. This will open a menu at the bottom of your screen.
- Recording Options: Similar to the keyboard shortcut, choose between recording your Full screen, a Partial screen (customizable area), or a specific Window.
- Stop Recording: Click the square “Stop recording” button within the Screen Capture menu.
- Saved Recordings: Like the keyboard shortcut, recordings are saved by default in the Downloads folder.

Pros:
- More Control: The Screen Capture tool offers the same recording options as the keyboard shortcut, but with the added flexibility to choose whether to include your microphone for audio recording.
- Built-in Functionality: No need to install additional extensions.
Cons:
- Slightly Slower: Accessing the Screen Capture tool takes a few more steps compared to the keyboard shortcut.
3. Using a Chrome Browser Extension (Advanced Features)
Chrome browser extensions provide a wider range of functionalities compared to the built-in methods:
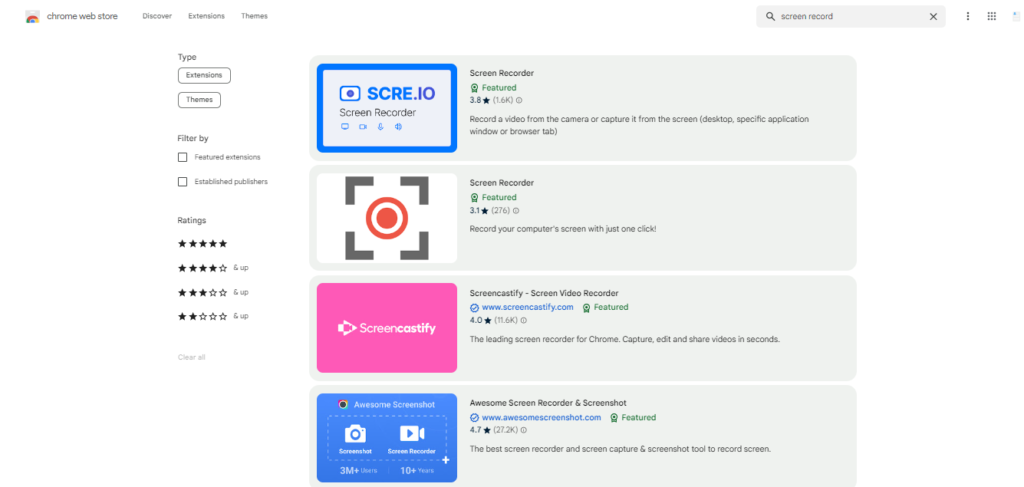
- Extension Installation: Visit the Chrome Web Store and search for a reputable screen recording extension. Install the chosen extension according to its specific instructions.
- Extension Setup: Once installed, some extensions may require additional configuration, such as granting screen recording permissions. Follow the extension’s on-screen instructions.
- Using the Extension: Each extension has its interface; locate the extension’s icon (usually in the Chrome toolbar) and follow its specific instructions for initiating and stopping recordings. Look for features like selecting the recording area, including audio, and editing options.
- Stop Recording: The method to stop recording will vary depending on the extension you choose. Refer to the extension’s instructions for details.
- Saved Recordings: Extensions may offer different saving options. Some might save to your Downloads folder like the built-in methods, while others might offer cloud storage or direct sharing functionalities.
Pros:
- Advanced Features: Many extensions offer features like editing tools, annotations, webcam recording alongside screen recording, and different output formats.
- Customization: Choose an extension that caters to your specific needs, whether it’s adding annotations, setting recording quality, or managing multiple recordings.
Cons:
- Setup Required: Installing and configuring an extension takes more time compared to the built-in methods.
- Extension Reliance: You depend on the continued support and functionality of the chosen extension.
Conclusion
Chromebooks offer a variety of ways to capture your screen activity. Whether you need a quick and simple solution or require advanced features like editing and audio recording, there’s a method to suit your needs. Experiment with the built-in options and explore Chrome extensions to discover the most effective way to record your Chromebook screen.
Also Read: Fixing Laptop Screen Flickering: A Comprehensive Guide